Install Matomo on AWS
In this article, we will explain what Matomo is, and show step by step, how to install it on your AWS account, using RebootX, available on Android and iOS.
In the previous article, we have seen how to Install WordPress on AWS.
In this article, we will explain what Matomo is (you can skip the first part if you already know), and show step by step, how to install it on your AWS account, using RebootX, available on Android and iOS.
What is Matomo ?
Matomo, formerly known as Piwik, is an open-source web analytics platform that empowers website owners and organizations to gain valuable insights into their online presence. Launched in 2007, Matomo provides an alternative to proprietary analytics solutions by offering a transparent and privacy-focused approach to data tracking and analysis. Users can install Matomo on their own servers, giving them full control over their data and ensuring compliance with privacy regulations.
Matomo tracks a wide range of metrics, including website traffic, visitor behavior, and interactions. It presents this data through a user-friendly dashboard, offering customizable reports and visualizations. A distinctive feature of Matomo is its emphasis on user privacy, providing tools for anonymizing IP addresses and offering users the ability to opt-out of tracking. This commitment to privacy aligns with growing concerns about data protection and aligns Matomo with regulations such as GDPR.
In addition to its core analytics features, Matomo supports plugins that extend its functionality, making it a versatile tool for various website analytics needs. Overall, Matomo stands as a privacy-centric, open-source solution for those seeking comprehensive insights into their online performance while maintaining control over their data.
How to install it with RebootX ?
First, you need to connect your AWS account to RebootX. If it's not already done, you can follow the video present in the app, in the connection flow. It's very easy and takes only a few minutes to perform.
Then, you're ready to start !
Click on the Provision a service card in the Control Panel.
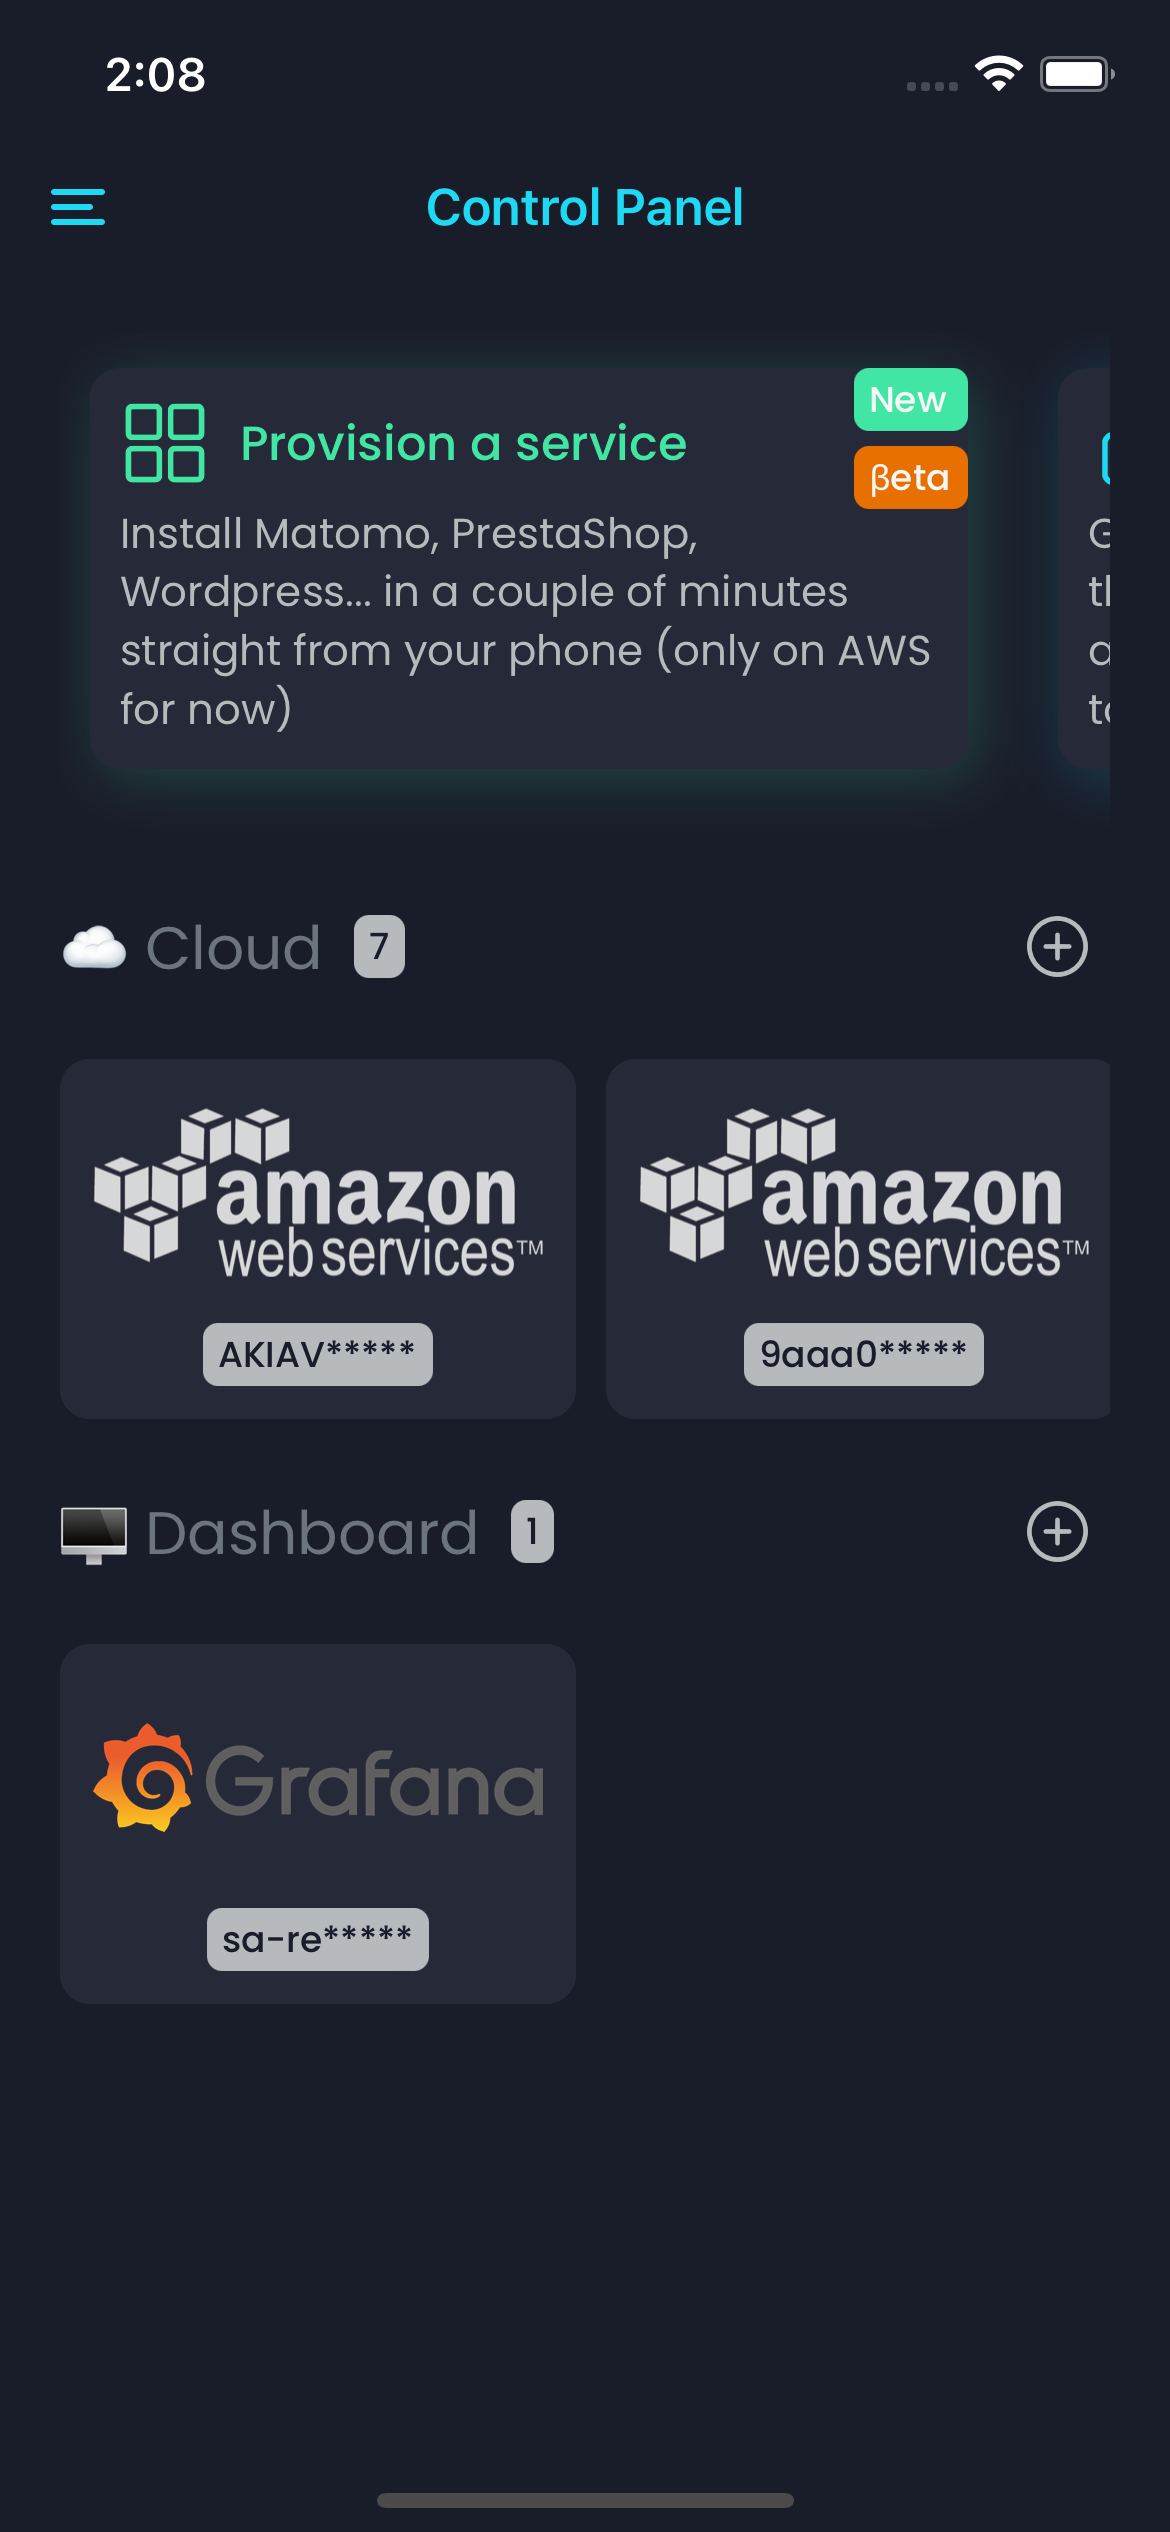 RebootX Control Panel
Fill the form like shown in the pictures below :
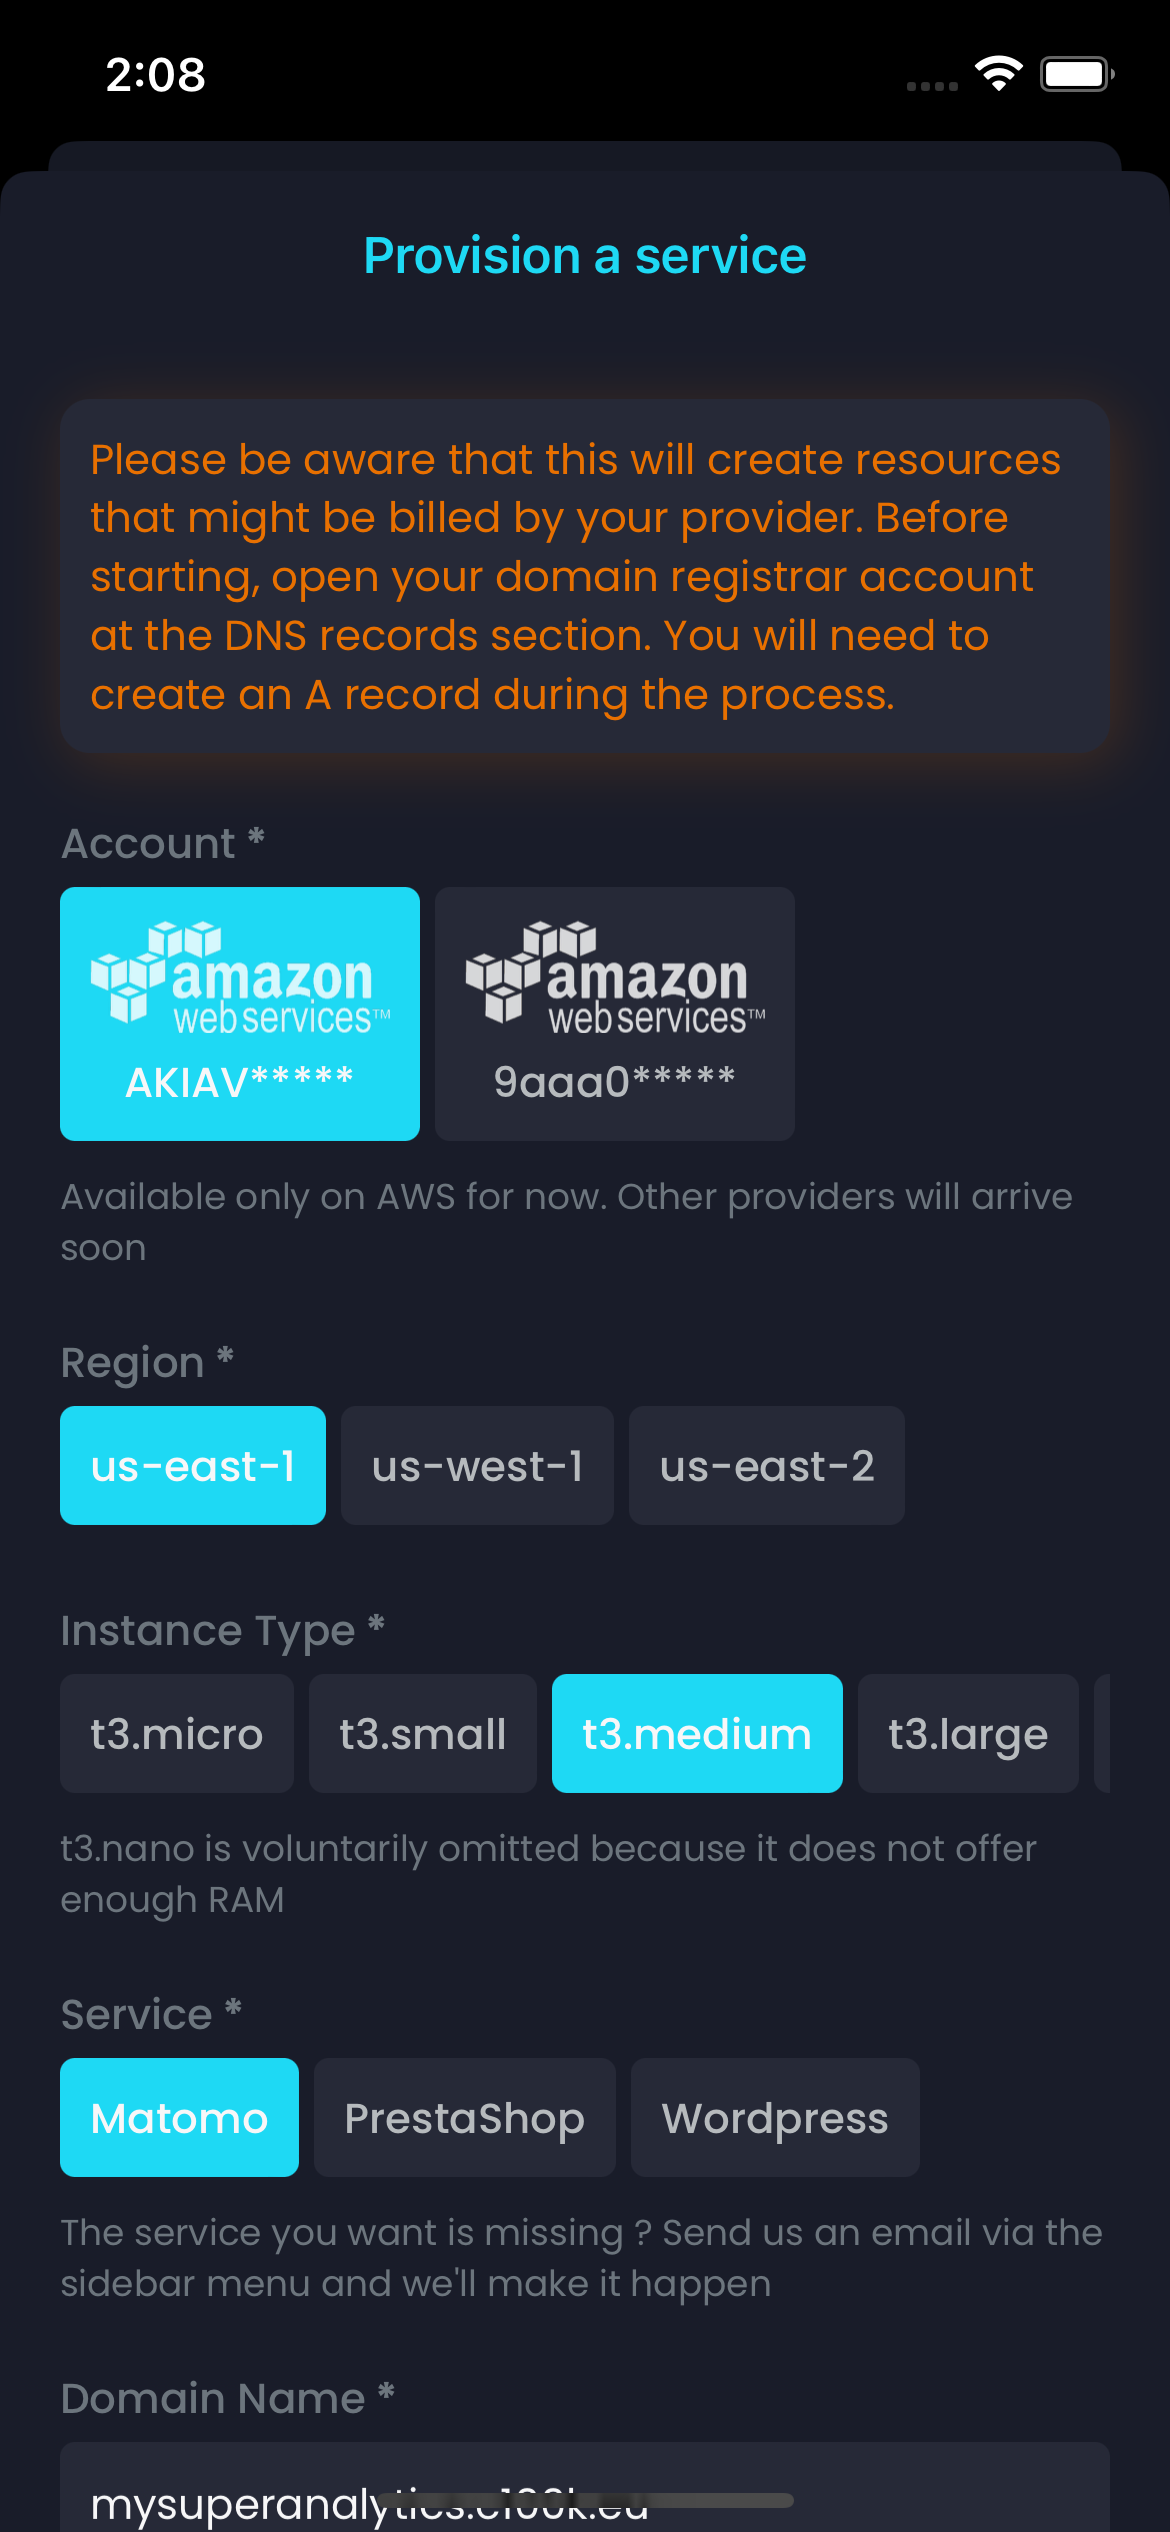 Part 1
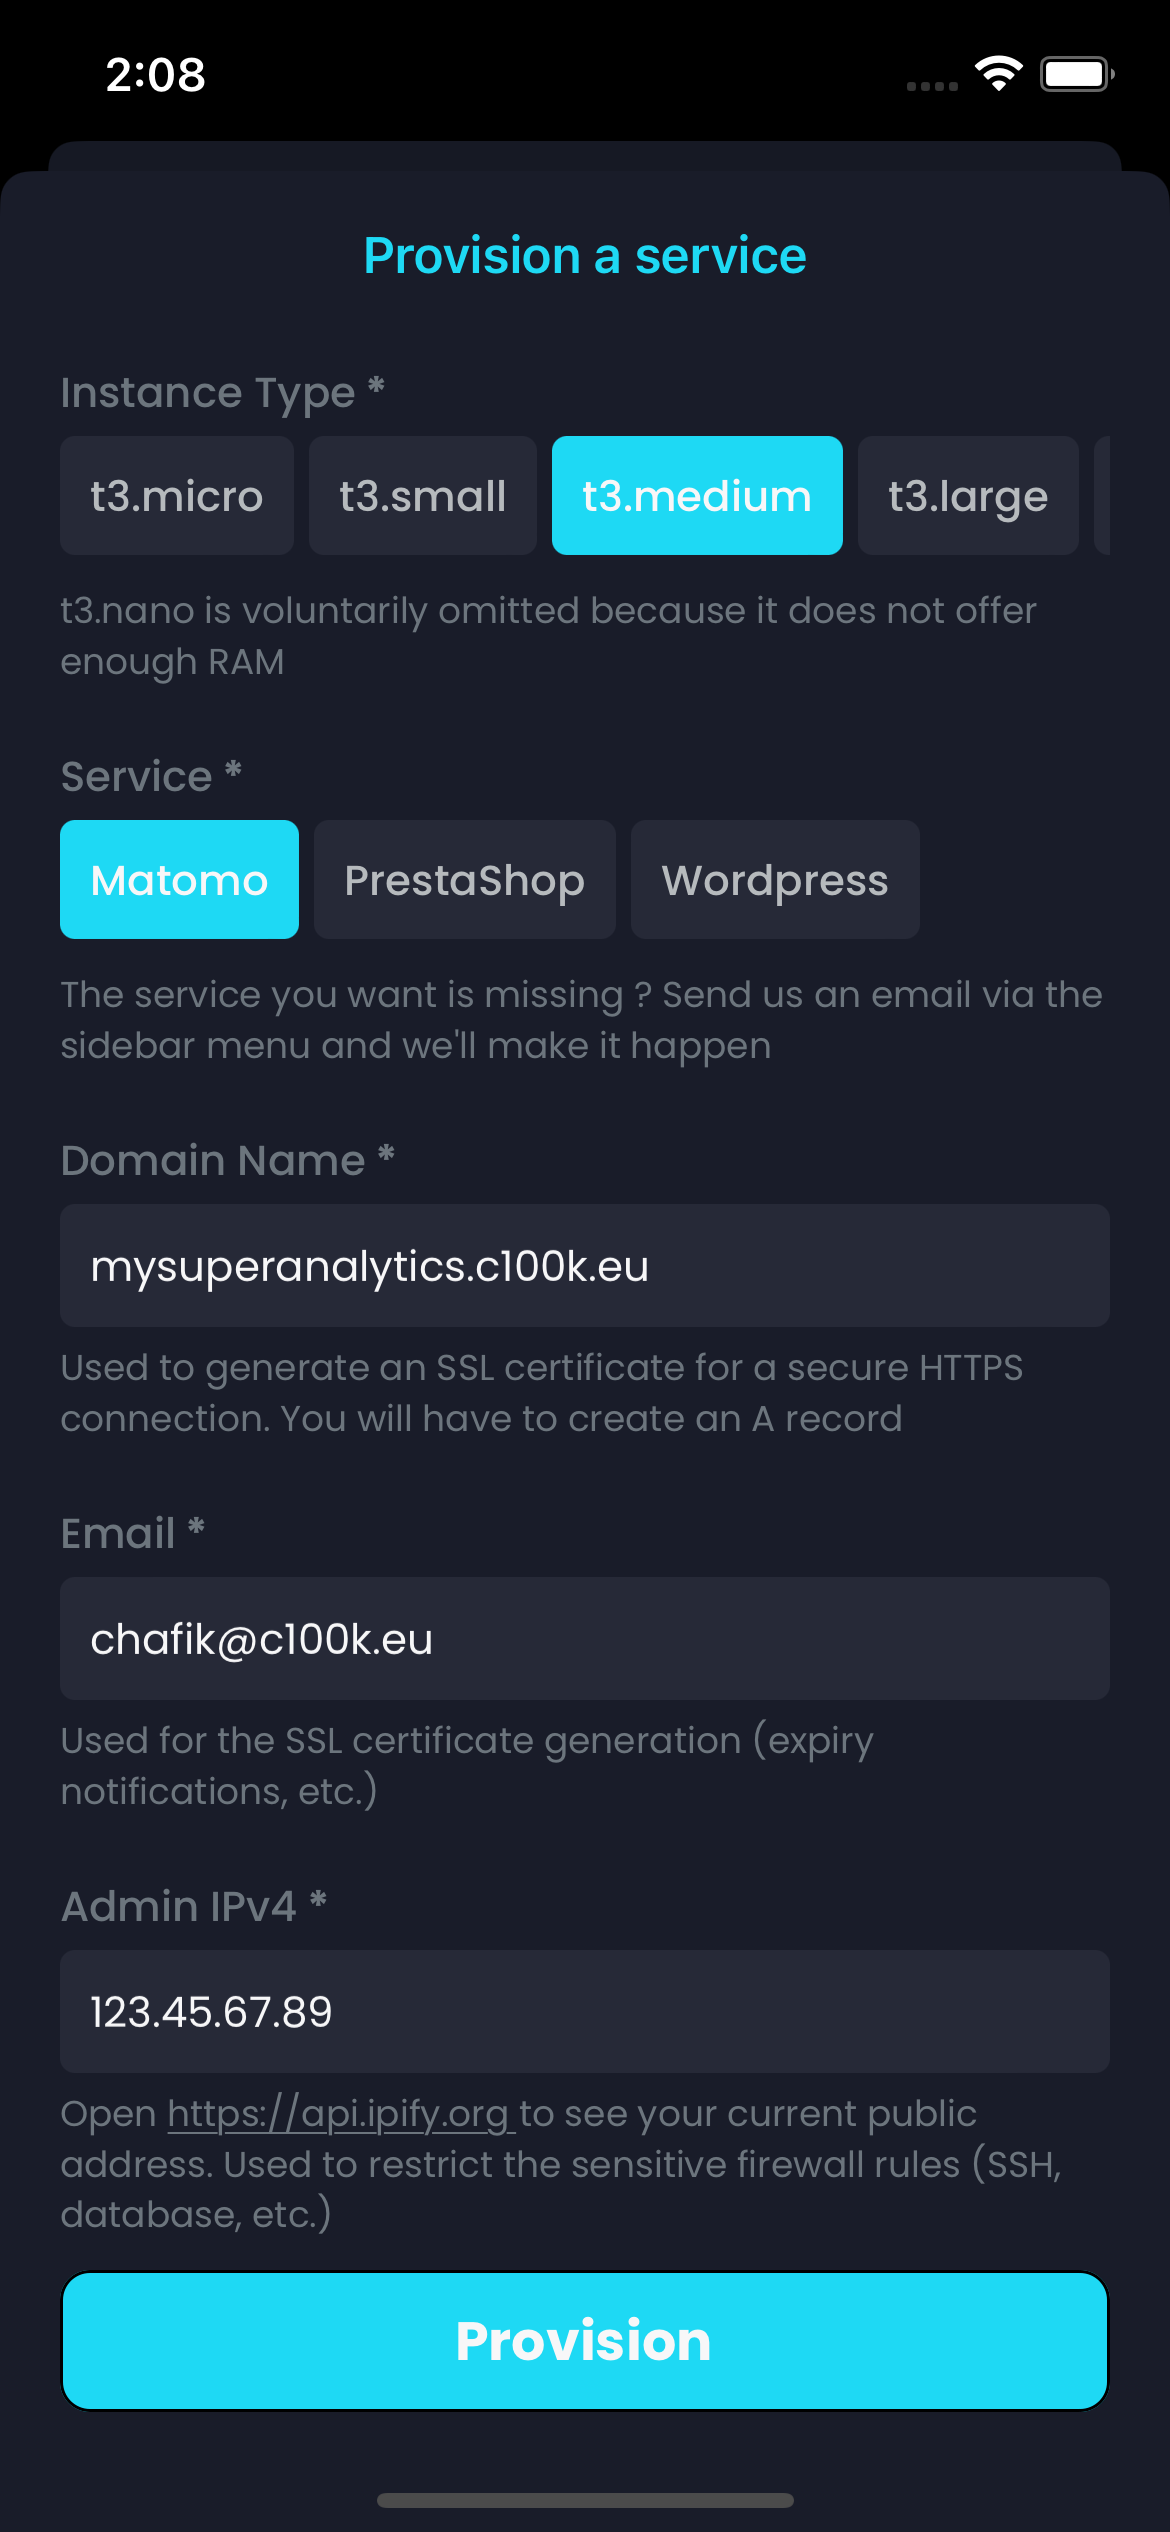 Part 2
Of course, you need to set your own values for the specific fields. For instance, you can select a different region, as well as a different instance type. If you plan to have a lot of traffic, consider bigger instances, but be aware that they cost more. For more details, check the AWS pricing page.
Regarding the Domain Name, you need to set a real value that you own. You will be asked to add a DNS record for this domain (it can be a subdomain) during the process.
For the Email, please set a valid email as well. It's used to init the Let's Encrypt flow in order to generate a valid SSL certificate.
Finally, for the Admin IPv4, set the IP address of your private place. The process will generate the required security groups for your instance. Some ports will be limited to this IP address so only you can access them (e.g. SSH, MySQL). Do not set the IP address of a public place. (By the way, we are working on an even more secure way, using a bastion).
Once that you've filled everything, you're ready to submit. Before that, open you registrar DNS zone, so you are ready to enter the required A record when you are asked to.
Press the button and let the magic happen !
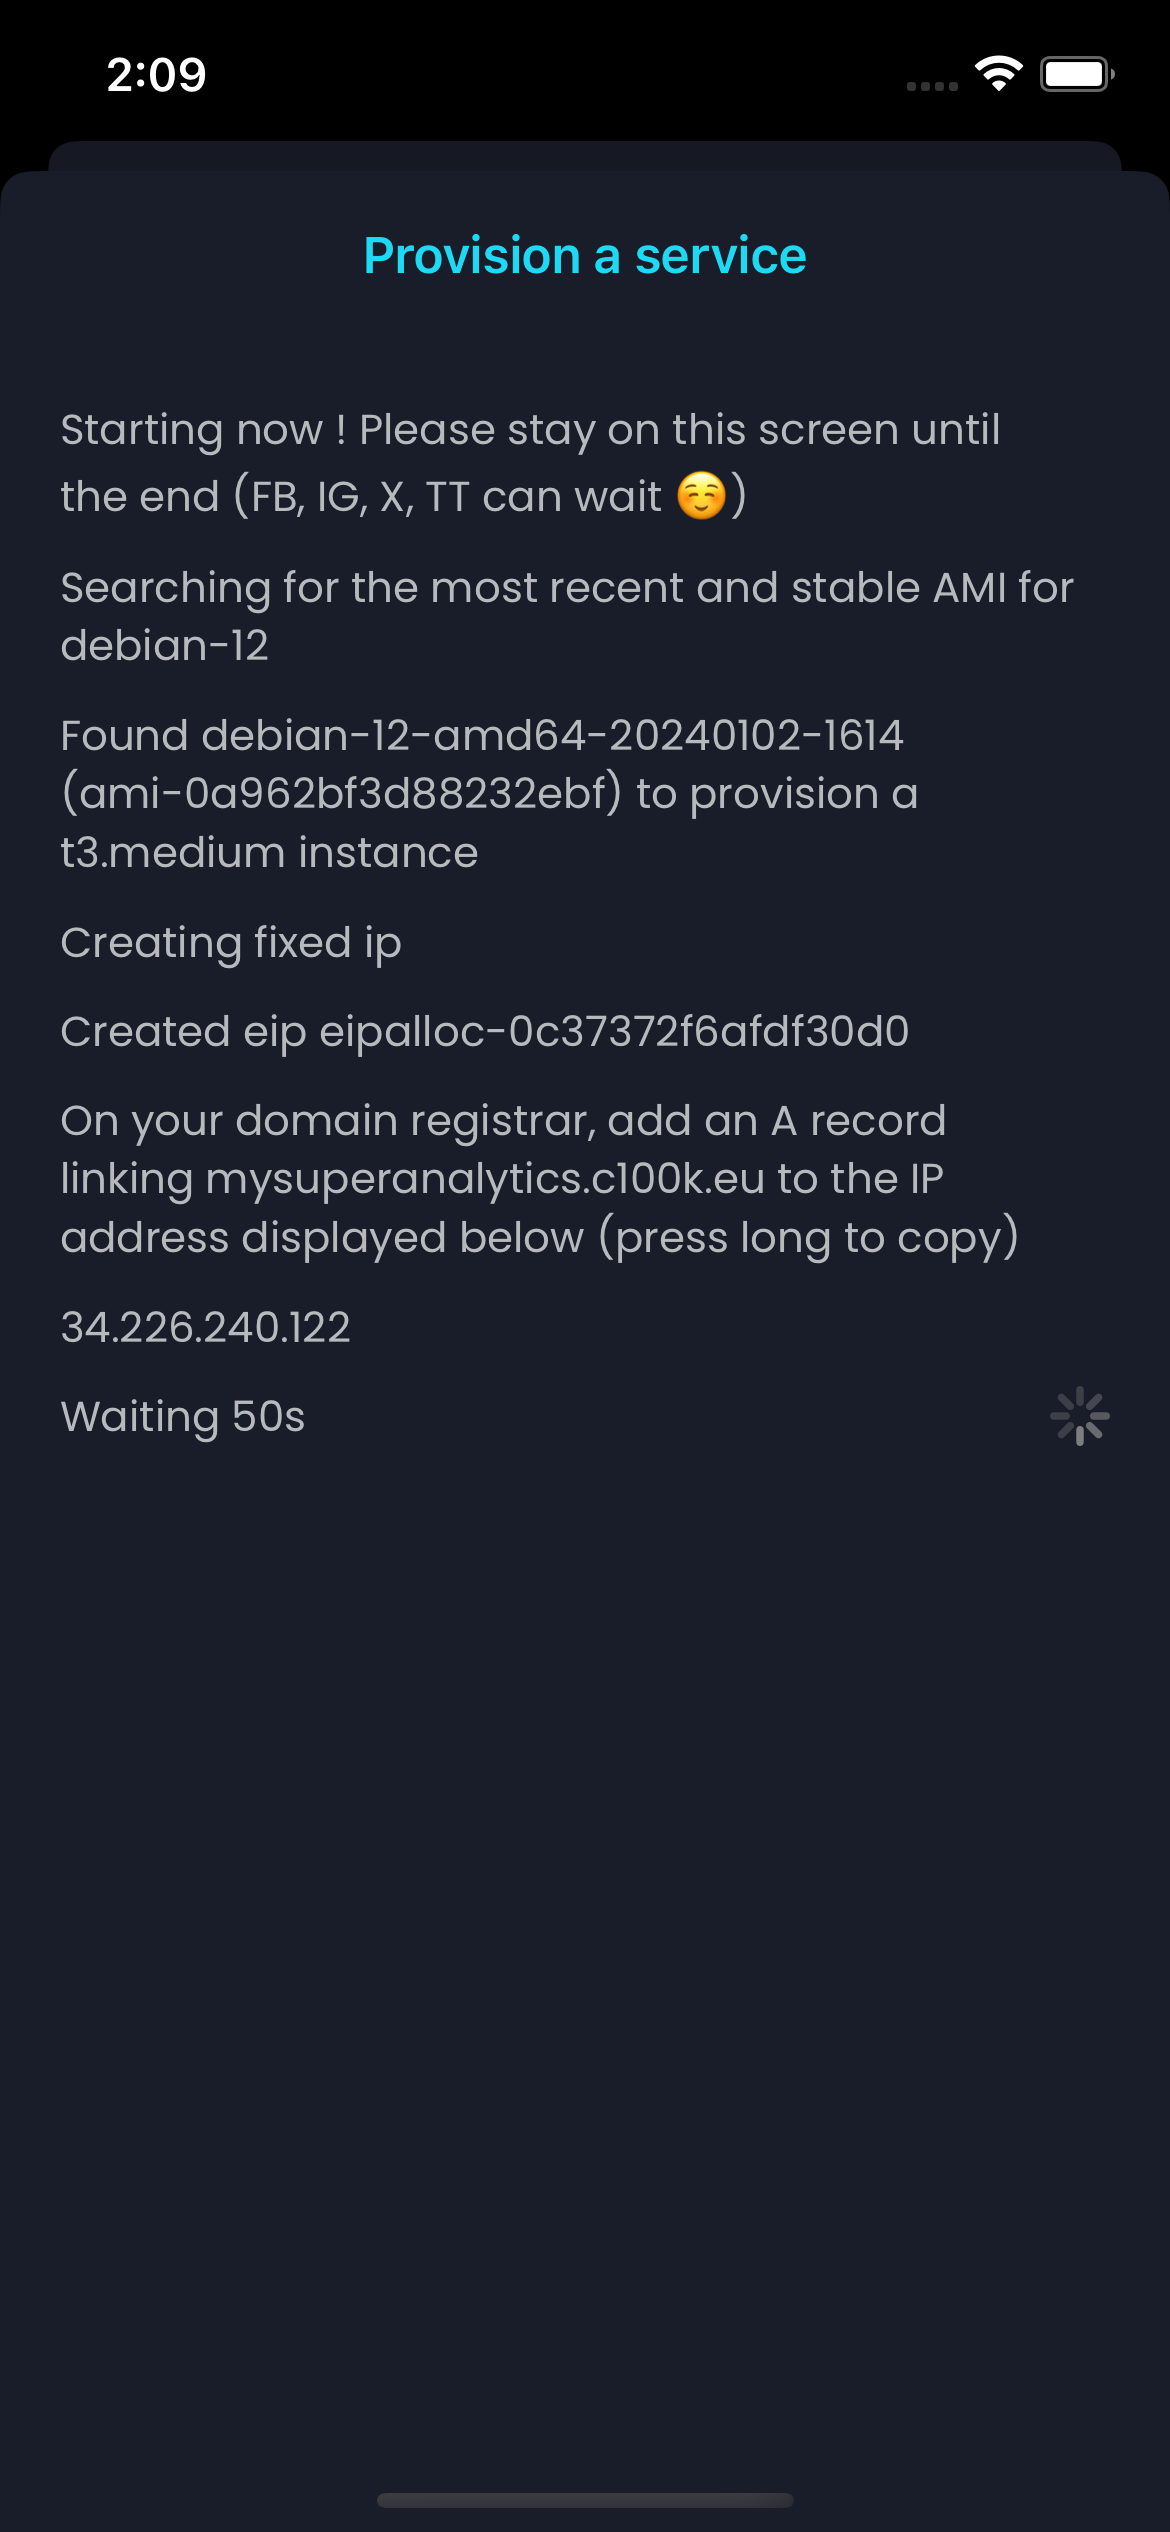 Logs 1
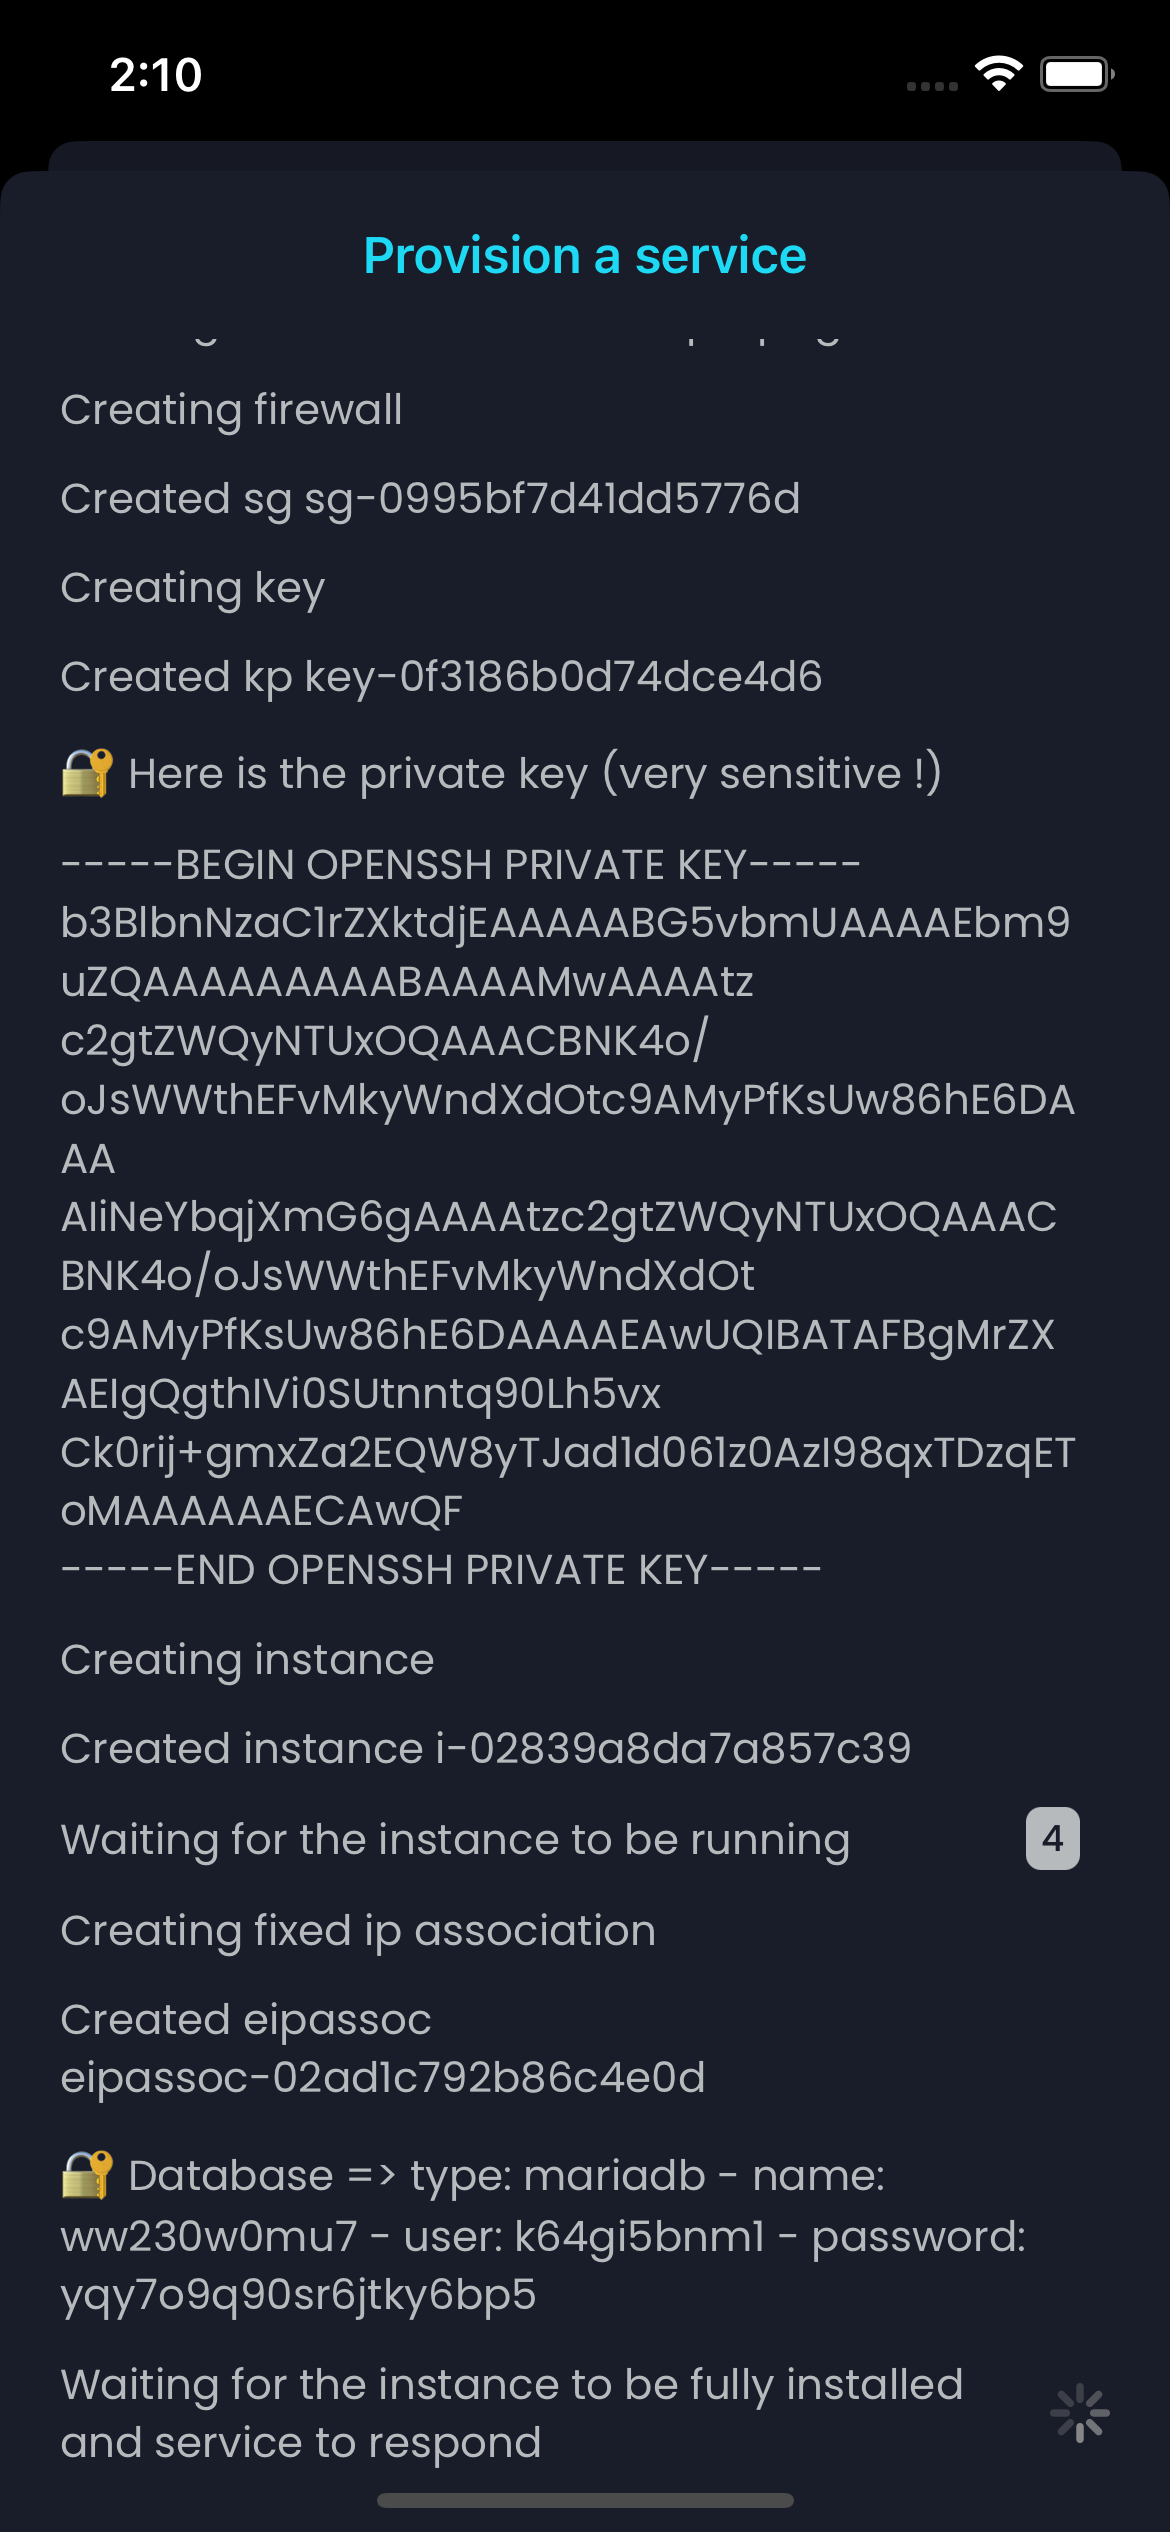 Logs 2
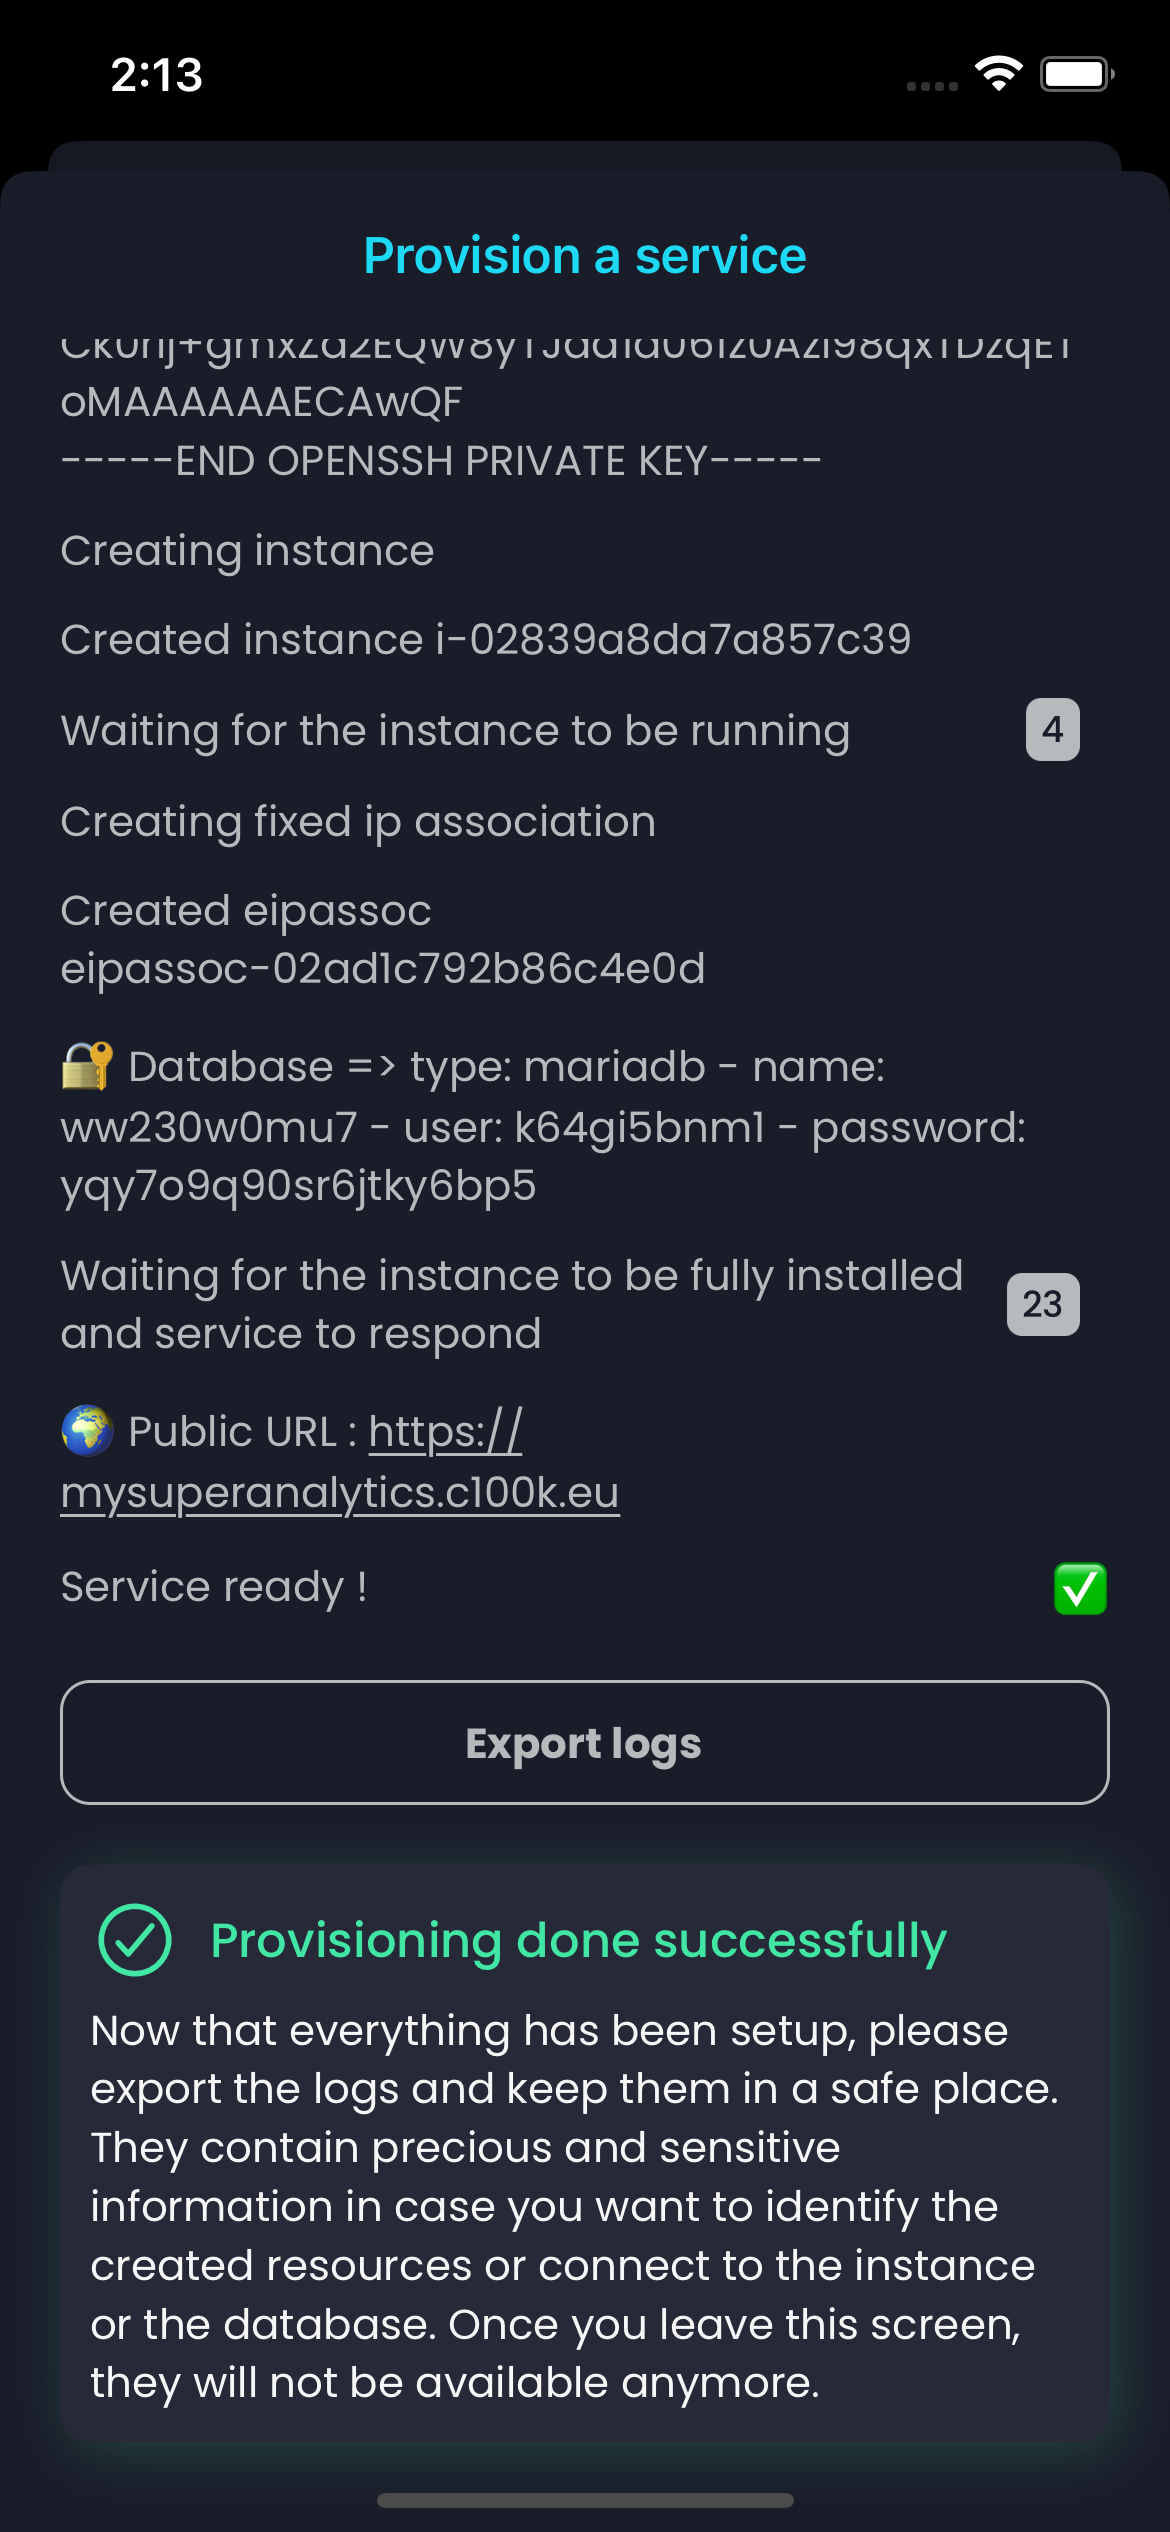 Logs 3
If you are curious, follow the logs to understand what is happening under the hood. You can even use the generated key to SSH into the instance and follow in real time the instance setup. To do so, type the following commands in your favorite Terminal :
touch pkey.pem
chmod 0600 pkey.pem
nano pkey.pem
# Paste the contents of the key in the file, removing any trailing spaces and line breaks
ssh -i pkey.pem admin@your_domain_name.com
tail -f /var/log/cloud-init-output.log
And after a couple of minutes...
TADA 🎉 🎉 🎉 🎉 🎉 🎉 !
You can see your service running right from your browser. Select the language, fill the other details asked by Matomo, and start connecting it to any website in order to send analytics. All of that, respecting GDPR and therefore your customers privacy.
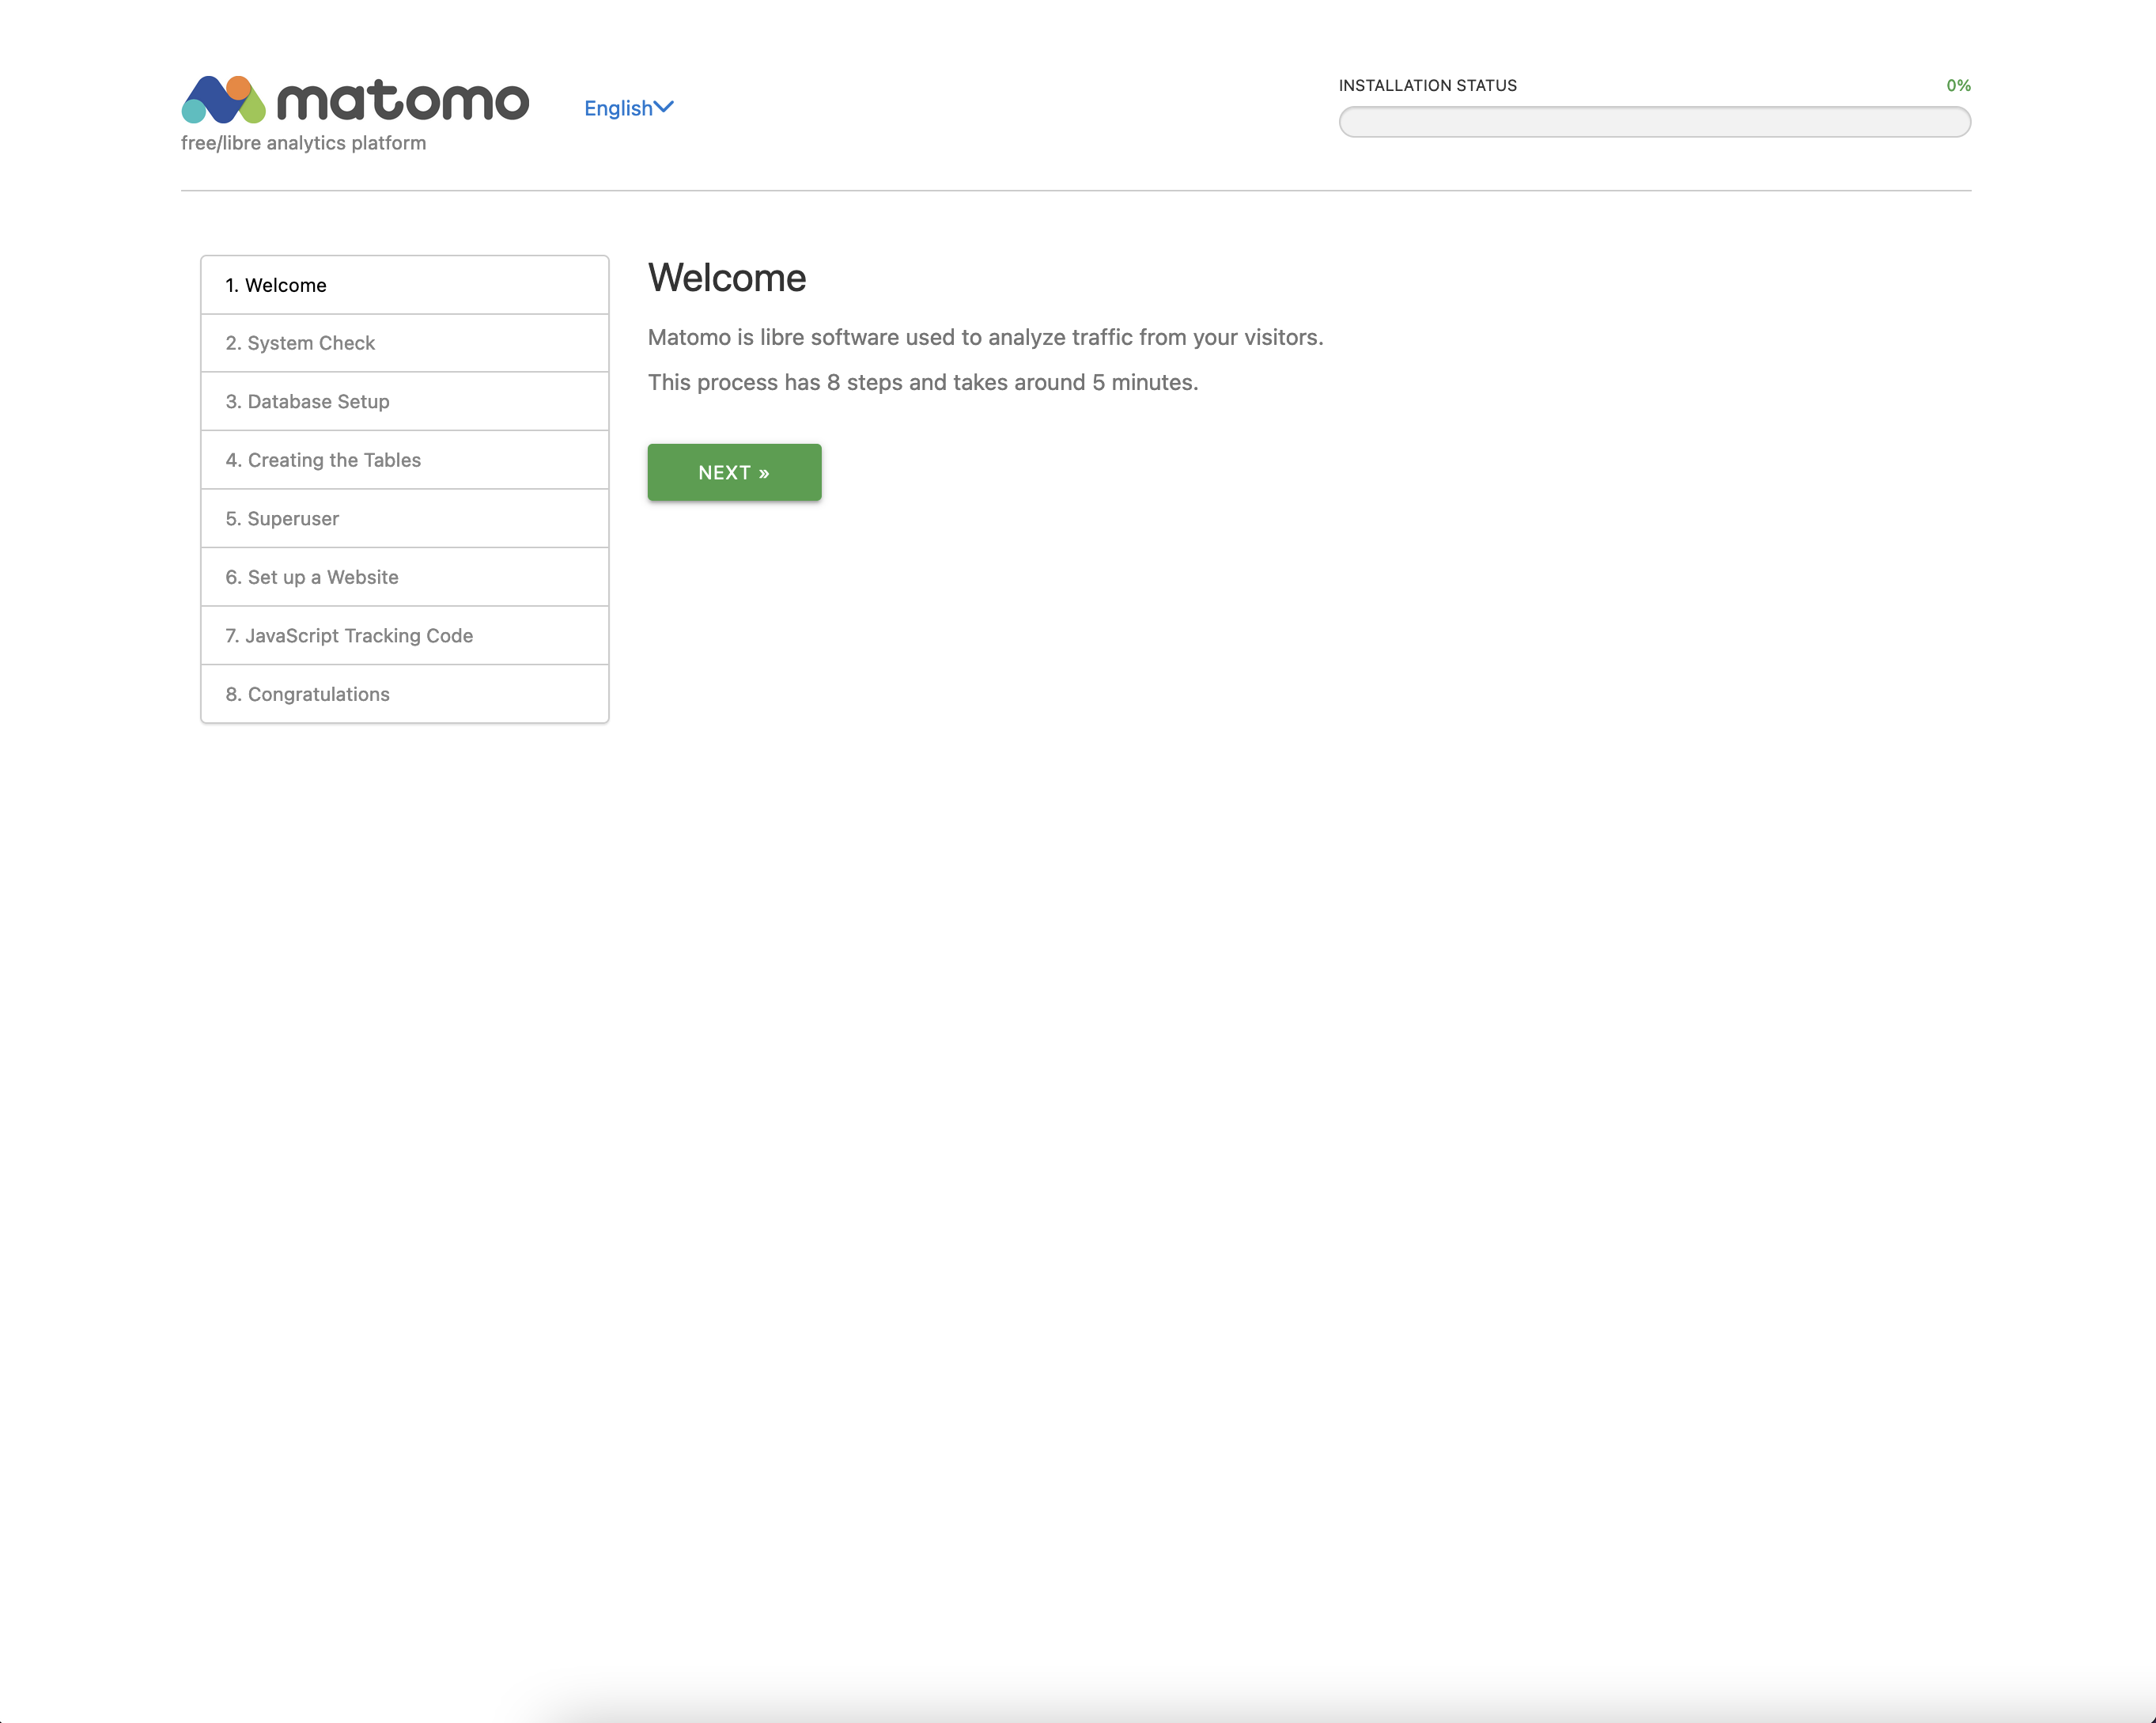 On Desktop
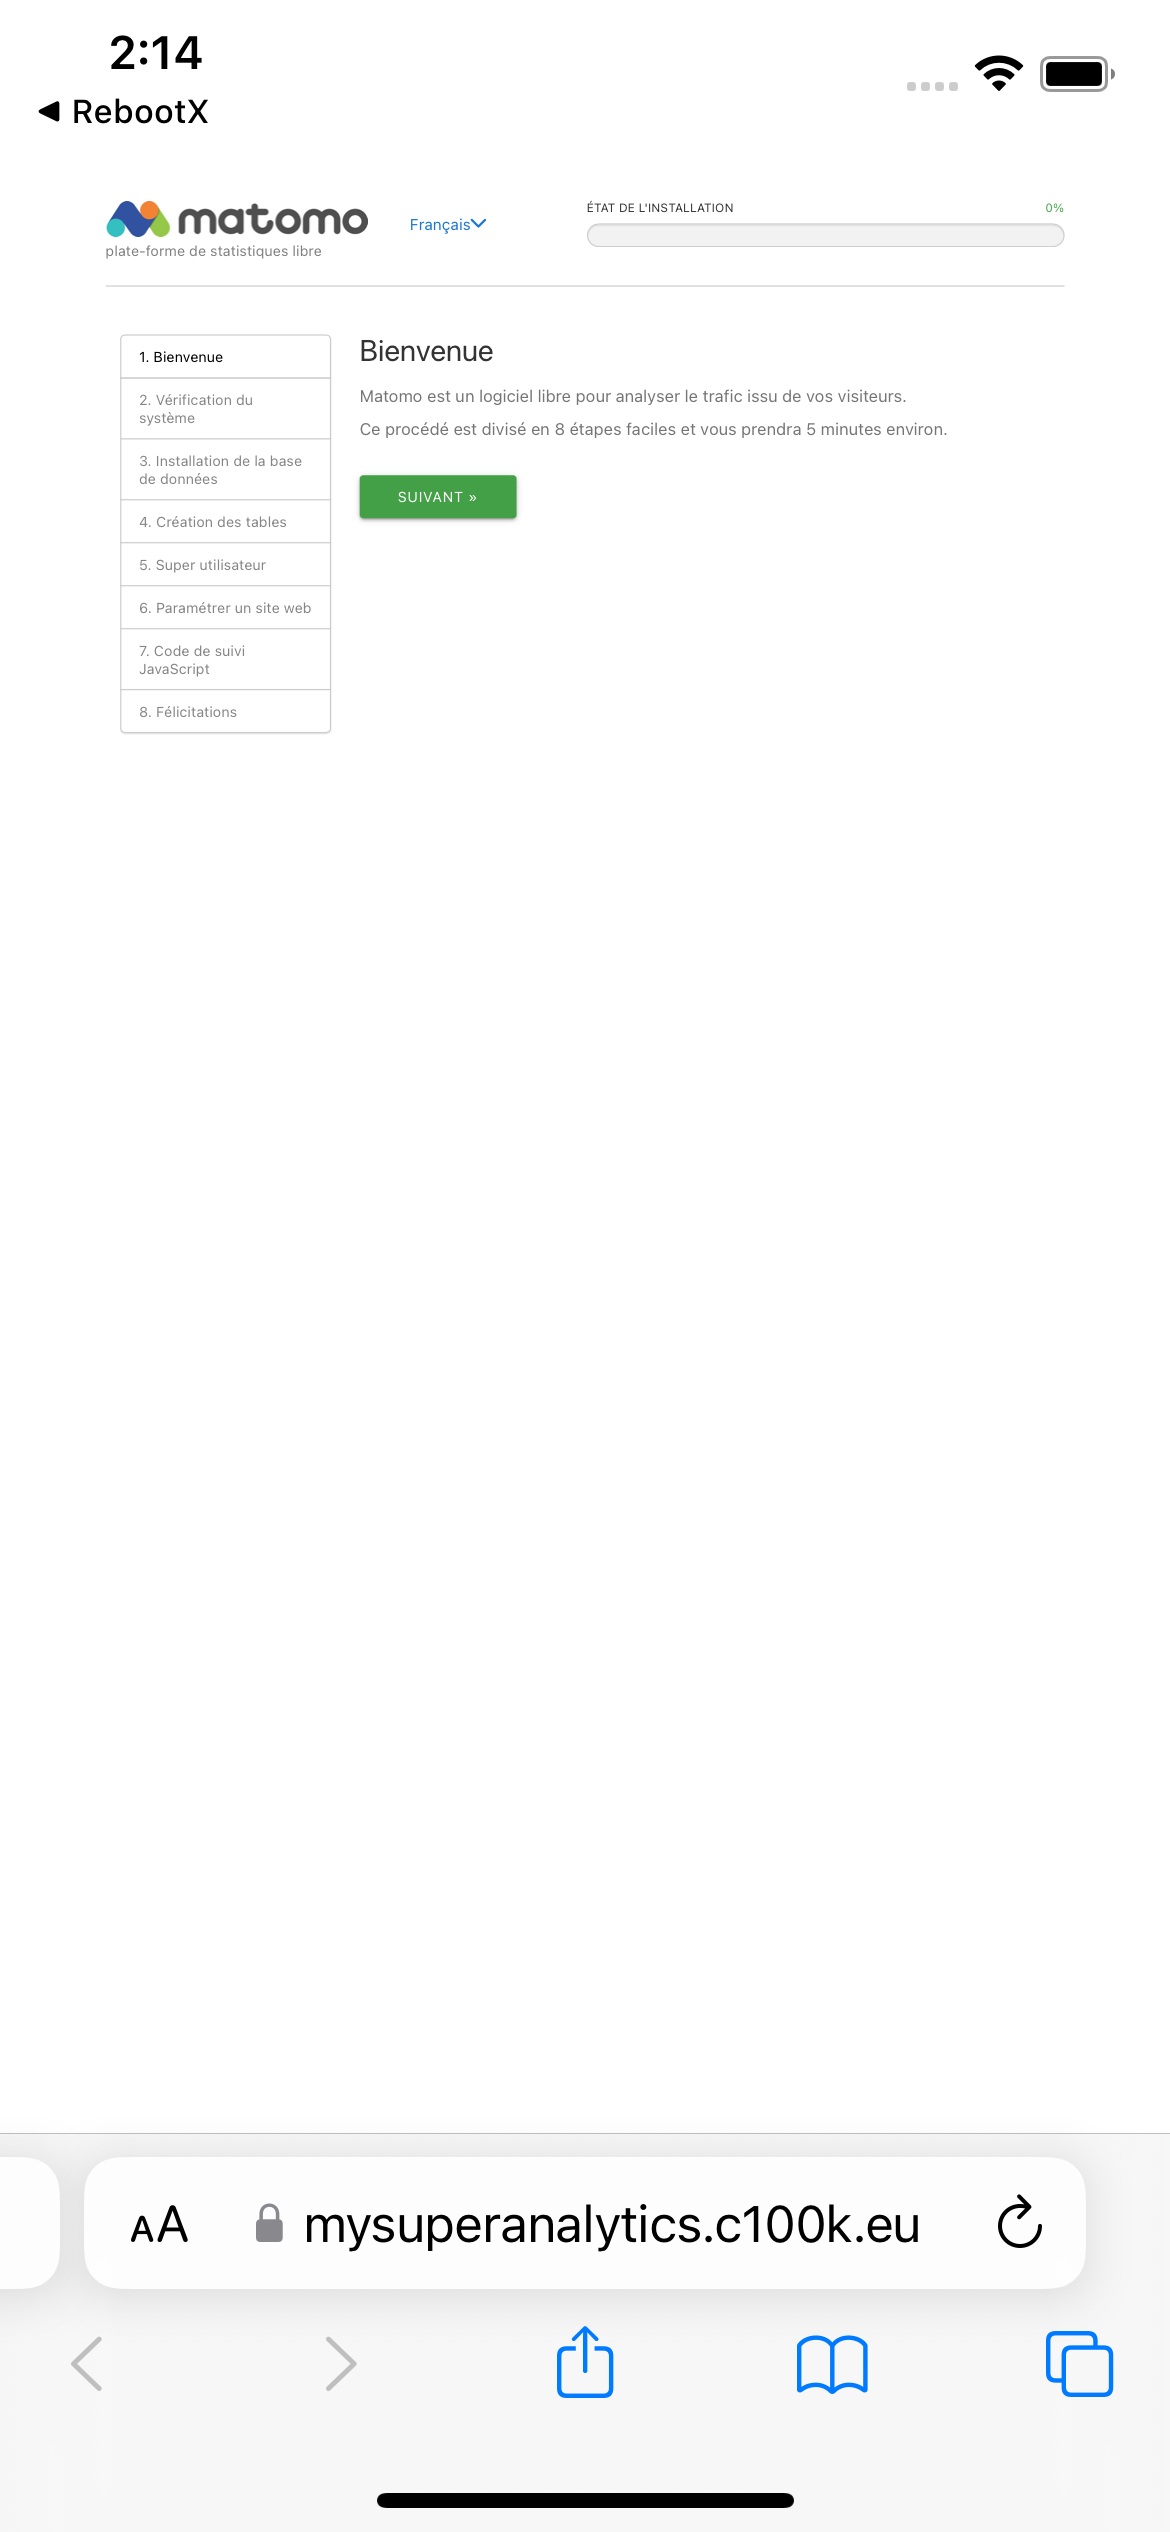 On Mobile
You can even log in to your AWS Console in order to visualize the elements created automatically for you (Key Pair, Security Group, Elastic IP, Instance).
In the next article, we'll explain how to do the same to Install PrestaShop on AWS.
Chafik H'nini
